Creating a garden that’s both beautiful and practical starts with the right foundation—sandstone stepping stones. Whether you’re after a neat path to the shed, a meandering trail through lush greenery, or a standout feature in your backyard, garden stepping stones are a brilliant way to add charm and functionality. Not only do stepping stones for pathways help keep your feet dry and clean, but they also guide the eye through your landscape, giving it a polished, well-designed look. Among all the options out there, decorative sandstone stones stand out for their natural warmth, timeless beauty, and rugged durability. If you’re after durable garden stones that can handle Aussie weather while elevating your outdoor space, sandstone is a top choice every time.
Why Sandstone Stepping Stones Are Ideal for Garden Walkways
Ever walked through your backyard and felt like it’s missing something? Maybe it’s a garden path that not only looks beautiful but also makes moving around your outdoor space easier. That’s where sandstone stepping stones come in—natural, charming, and practical.
Unlike concrete slabs that can feel sterile or loose pebbles that shift underfoot, sandstone stepping stones offer a warm, earthy aesthetic and a stable surface. In Australian gardens, where native plants and relaxed landscapes are common, these natural stones blend seamlessly into the scenery, making them a top choice for outdoor paths.
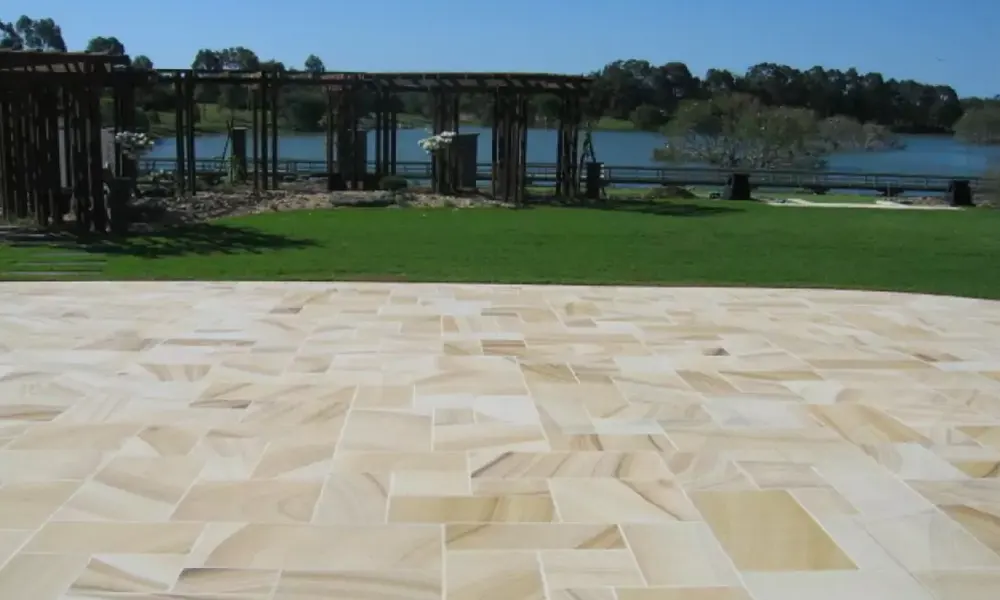
For example, a sloped backyard with lawn and minimal hardscaping can be instantly transformed with a line of Outdoor garden stepping stones leading from the patio to the shed or veggie patch. Without the need for heavy excavation, these stones can be placed directly onto grass or compacted soil for a quick weekend upgrade, giving you a beautiful, functional path in no time.
A Creative Guide to Incorporating Sandstone Stepping Stones in Your Garden
There’s something incredibly satisfying about a garden that invites you to explore—whether it’s a quiet nook for your morning cuppa or a winding path that connects your favourite outdoor spaces. The good news? You don’t need to be a professional landscaper to achieve that. With a few well-placed sandstone stepping stones, you can transform even the simplest yard into a functional and stylish retreat.
Stepping stones for garden paths offer both beauty and practicality, guiding visitors while protecting your lawn from wear and tear. And the best part? You can personalise the layout to match your style and space. Here are a few popular design approaches:
- Random placement for a whimsical, cottage-garden feel
- Symmetrical rows to lead from gate to gazebo
- Curved paths that encourage a gentle stroll
Pair your stone paving for outdoor spaces with native grasses or groundcovers like creeping thyme. Not only does it soften the look, but it also adds a fresh fragrance as you walk.
How to Choose the Perfect Sandstone Stepping Stones for Your Landscape
Creating a stunning garden path isn’t just about laying stones—it’s about crafting a space that reflects your style and works with the rhythm of your outdoor life. From the texture underfoot to the colour that catches the morning light, every detail of your sandstone stepping stones can enhance your landscape. Whether you’re working on a polished front entry or a more laid-back backyard path, pathway stones for gardens offer a wide range of customisable options to suit both your design vision and the Australian climate.
When choosing stepping stones for pathways, think beyond just shape and size. Consider:
- Texture: Want a rustic look? Go for split-face finishes, which offer a natural, rugged appearance. Prefer sleek? Smooth-cut stones work well for modern, minimalist designs. If you’re after something in between, tumbled stones offer a soft, weathered texture that’s perfect for a balanced garden vibe.
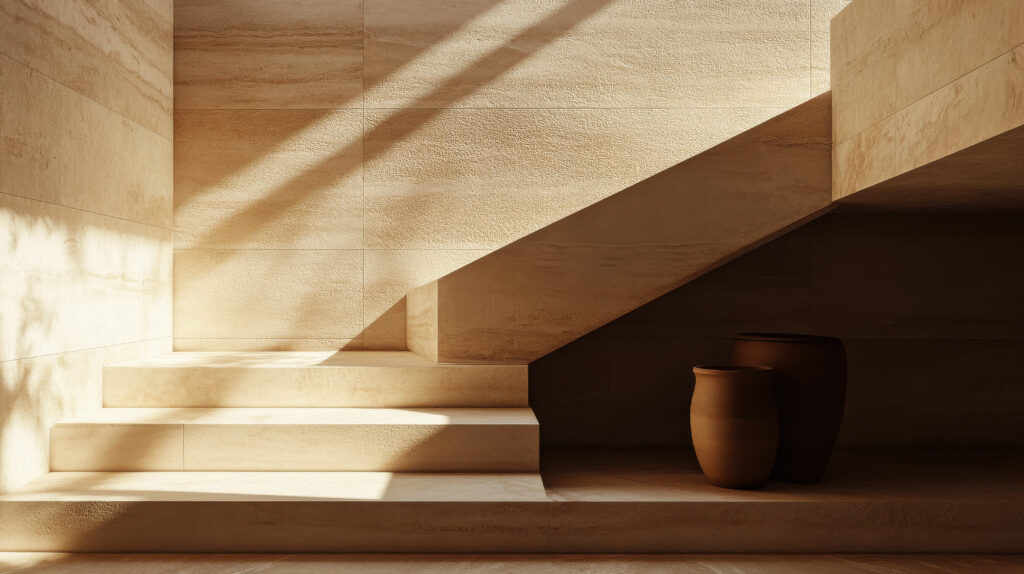
- Colour: Queensland sandstone comes in beautiful earthy tones—warm golds, creamy whites, and rusty pinks. These colours can help set the tone of your garden. For a contemporary aesthetic, cool whites or greys might be ideal, while the warm golden hues can bring a natural, earthy feel to your space. Don’t forget about complementary colours—mixing tones can create a dynamic, layered look.
- Durability: Our durable garden stones are built to withstand Australia’s harsh climate. Whether you’re enduring summer heat or sudden rains, our sandstone is tough enough to handle it all. Look for stones with a high density and low porosity for maximum resilience and longevity.
- Size and Shape: Don’t feel limited to traditional round or square stones. Experiment with irregular or organic shapes for a more natural look, or opt for uniform sizes if you want to create a neat, structured path. Larger stones can create a dramatic effect, while smaller ones may feel more intimate and subtle.
- Installation Style: Consider how the stones will be laid. If you prefer a more informal look, opt for randomly placed stones. For a more formal, ordered appearance, symmetrical layouts work well. For garden paths with lots of foot traffic, stones laid closer together can provide a safer, more comfortable walking experience. If you’re after something with a bit more texture, our sandstone cladding rockface split could be a great option to give your pathways a rugged, natural feel.
We often guide customers through samples at our yard. Not local? No worries—contact us and we’ll help you choose the right decorative garden stones online.
The Advantages of Sandstone Stepping Stones Over Other Paving Options
With so many paving choices out there, it’s worth asking—why go for sandstone?
For starters, it’s hard to beat the natural beauty of sandstone. Each piece comes with its own distinct grain and warm, earthy colour tones that add character to any garden. Unlike uniform concrete or artificial pavers, sandstone blends effortlessly with native plants and the natural surroundings, creating a more organic look. Natural stone stepping stones not only enhance the beauty of your landscape but also provide a more harmonious connection with the environment.
It’s also a sustainable choice. As a material that’s directly quarried from nature, sandstone is an eco-friendly option for garden paths and landscaping projects. Maintenance is a breeze too—most of the time, a simple hose-down is all it needs to keep looking fresh.
Durability is another big win. While timber can rot and low-grade concrete often cracks or crumbles over time, sandstone stepping stones are built to last. They hold up well in harsh Aussie conditions without losing their charm.
And here’s a handy tip for warmer climates—unlike concrete, sandstone doesn’t retain as much heat. That means it stays cooler underfoot, making it perfect for barefoot walks through the garden, even during a Queensland summer. Synthetic grass can become too hot to walk on during the summer, so it’s often replaced with Australian sandstone. It stays cooler underfoot, making it a more practical and comfortable option for outdoor areas. That’s why we offer Australian sandstone — it looks beautiful and helps create spaces that can be enjoyed year-round.
Enhance Your Outdoor Aesthetic with Natural Sandstone Pathways
Sandstone stepping stones are the perfect way to bring structure and beauty to your garden. Whether you’re creating a path through your backyard, framing a pool, or simply connecting different areas of your outdoor space, these stones help guide movement while adding a touch of elegance.
What makes sandstone so special is how well it blends with nature. Whether your home is built from timber, brick, or render, natural stone stepping stones fit in beautifully. Their earthy tones and textures give your garden a warm, inviting feel, and they naturally complement native plants and outdoor settings.
The best part? Sandstone is low-maintenance and durable. As time goes by, the stones take on a richer, more rustic look, only adding to the charm of your garden. And with easy-to-install stepping stones, you don’t have to be a professional landscaper to get the job done. Whether you’re laying them along a garden path or framing a special spot in your backyard, it’s an easy weekend project that’ll instantly transform your space.
Elite Sandstone: The Best Supplier of Quality Stepping Stones for Your Garden
At Elite Sandstone, we’ve been supplying top-quality stepping stones for pathways for years. Locally sourced, expertly cut, and always dependable, our sandstone is trusted by landscapers, councils, and homeowners alike.
Whether you’re designing a minimalist natural stone garden path or a lush decorative paving stone layout, we’ve got the stock, expertise, and heart to help you do it right.
Designing your dream garden doesn’t need to cost the earth—or stress you out. With sandstone stepping stones, you’re choosing a durable, beautiful, and eco-friendly solution for your outdoor space. It’s time to bring function, style, and a bit of that relaxed Aussie charm into your garden.
Need help picking the right stone? Speak to our friendly team today via our contact page!