Tired of the same old boring pool coping? Looking to elevate your backyard oasis with a touch of natural elegance? Sandstone pool coping might just be the solution you’ve been searching for.
Known for its natural beauty and durability, sandstone adds a timeless charm to your pool, transforming it into a stunning feature of your outdoor space.
But how do you choose the perfect sandstone pool coping to match your pool? From understanding the various types to installation tips, we’ll guide you through everything you need to know to make the right choice for your pool’s design.
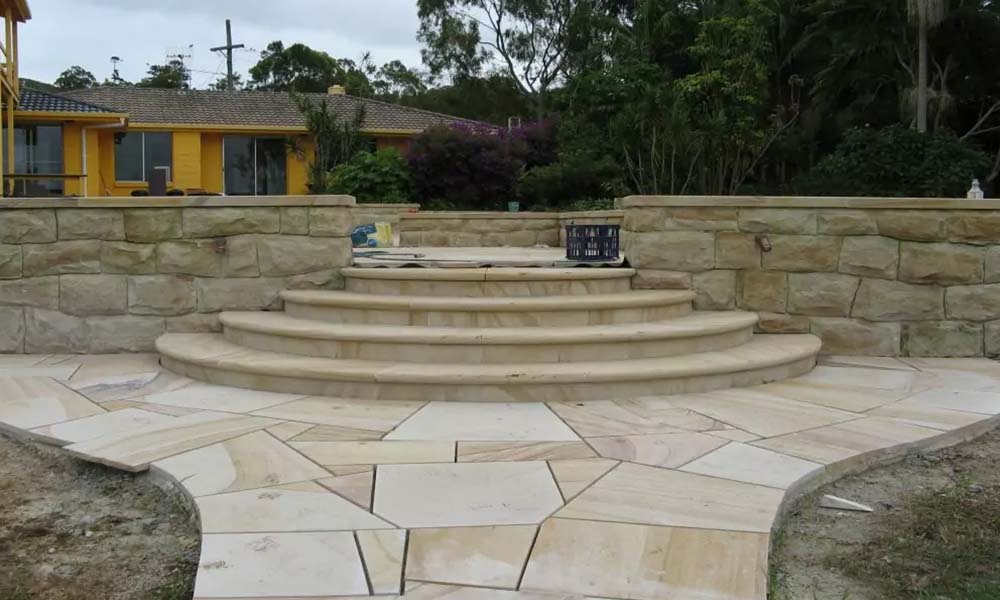
The Beauty of Sandstone Pool Coping
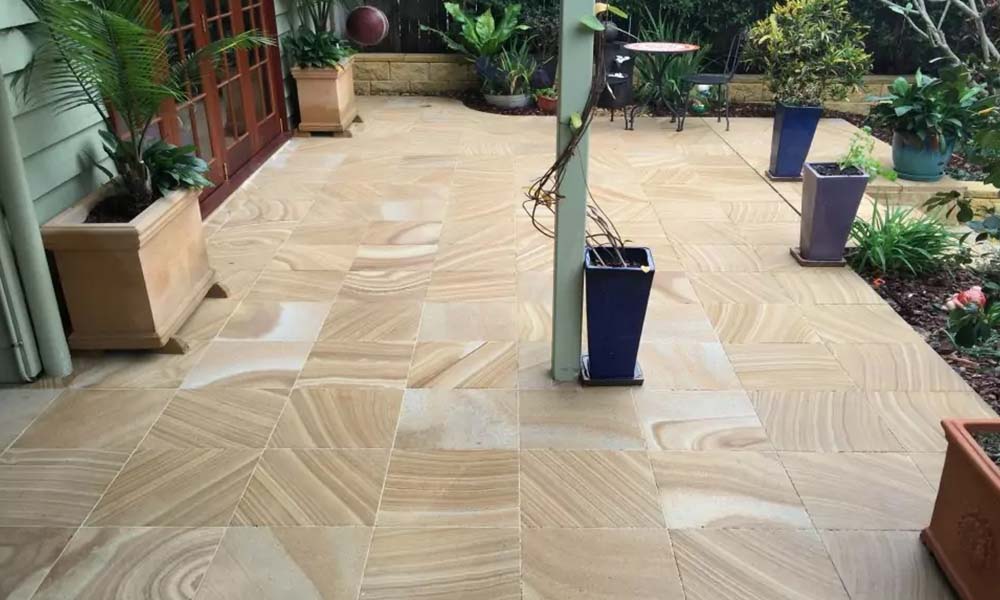
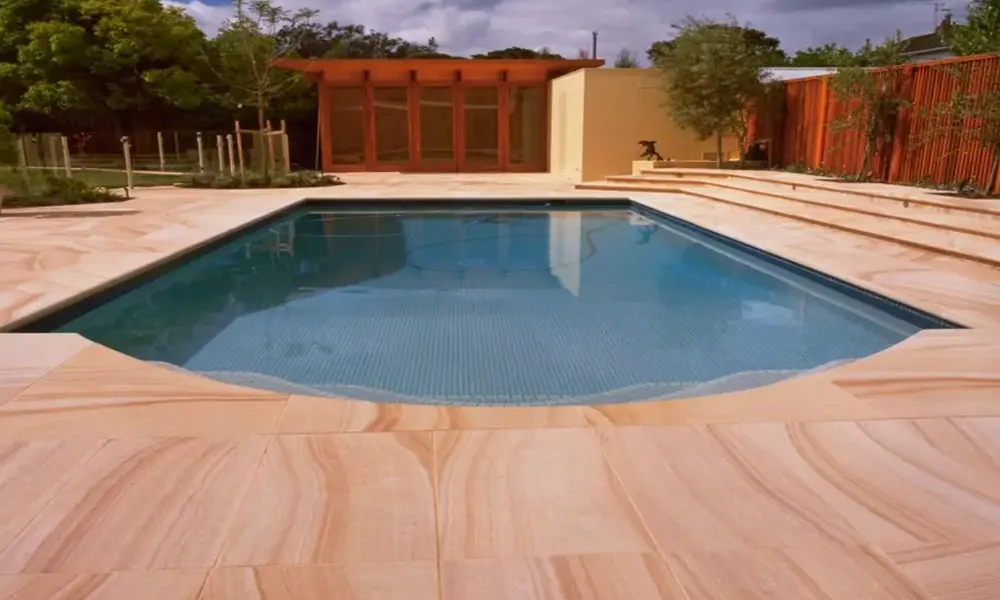
Sandstone pool coping is more than just a functional element around your pool; it brings natural sophistication and rustic charm to your backyard. Its unique textures and earthy tones provide a seamless transition from your pool to the surrounding landscape.
Why is Sandstone Pool Coping Popular?
- Natural Beauty: Every piece of sandstone is different, with subtle variations in colour and texture, giving your pool a unique, natural look.
- Durability: Sandstone is highly resistant to weather, UV rays, and water exposure, making it an excellent long-term investment.
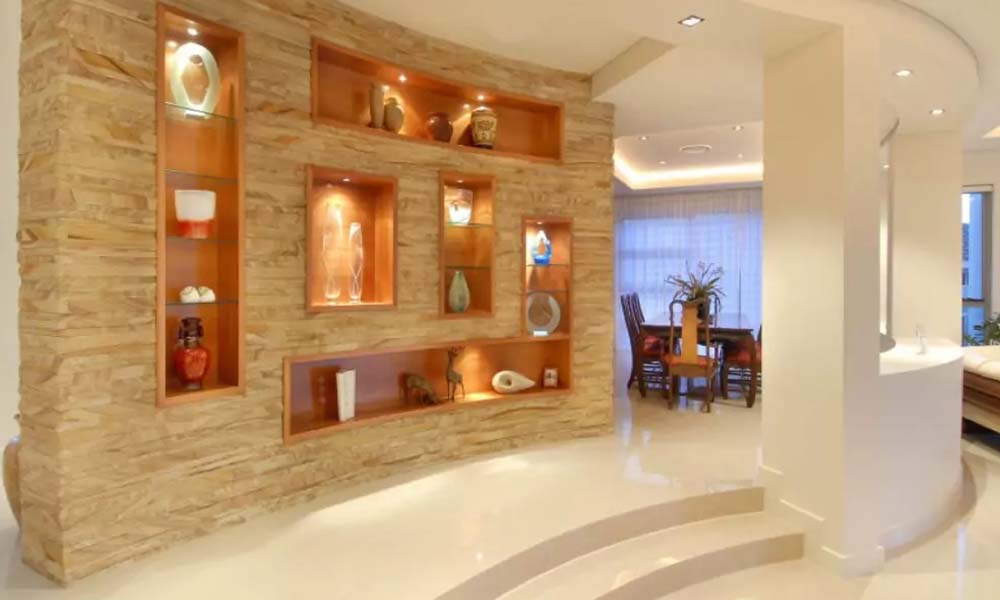
- Versatility: It comes in various finishes, colours, and styles to suit any pool design, from modern to traditional.
- Low Maintenance: Once installed, sandstone requires minimal upkeep and is relatively easy to clean.
Types of Sandstone Pool Coping
Choosing the right type of sandstone for your pool coping is essential to achieving the desired aesthetic.
Here’s a breakdown of the most popular styles:
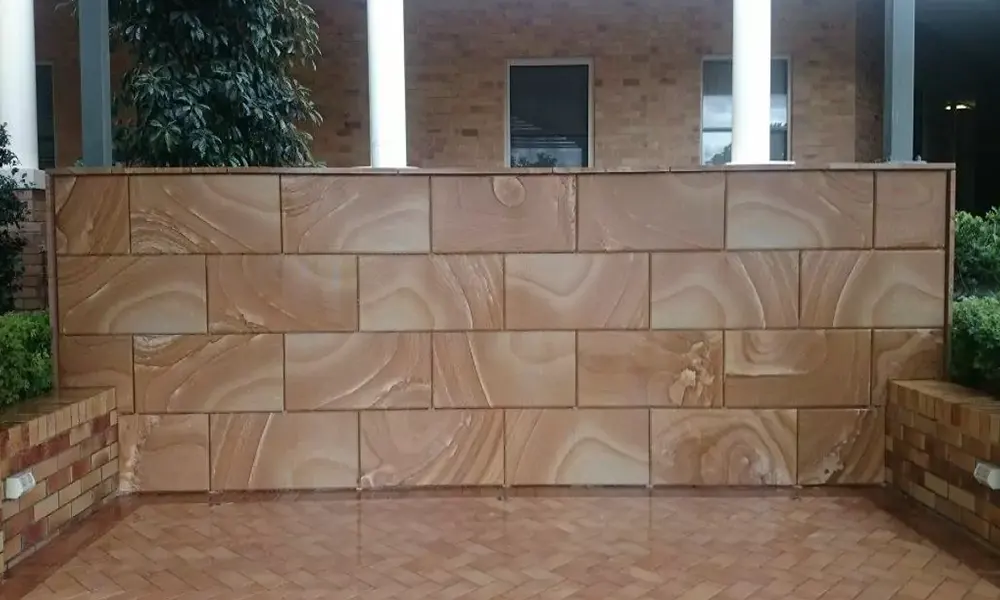
- Flagstone: Known for its irregular shapes and sizes, flagstone offers a rustic, natural appearance. This is perfect for creating a relaxed, casual look around your pool.
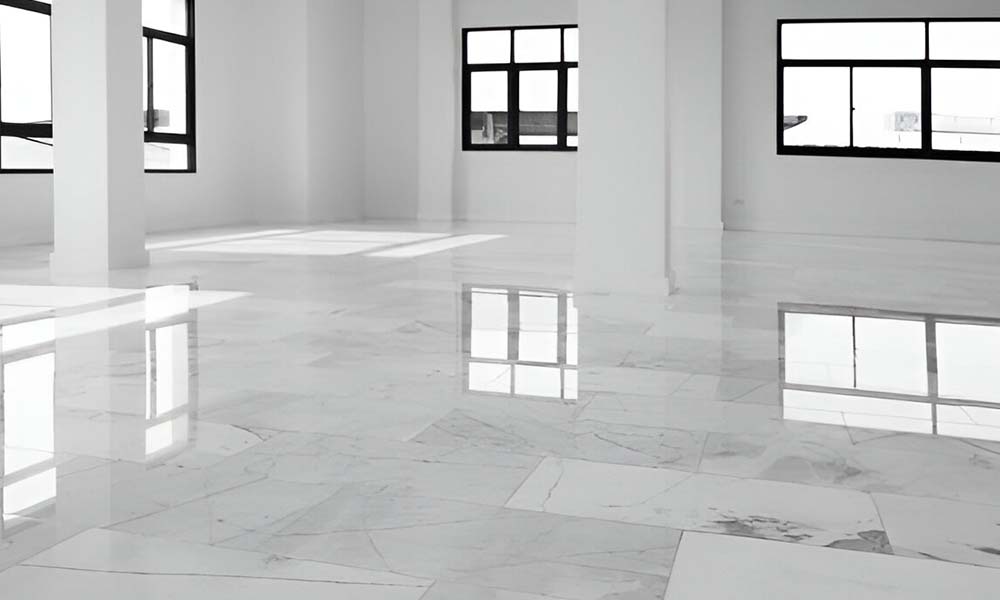
- Tumbled Sandstone: Smooth and rounded, tumbled stone provides a softer, refined appearance. This finish works well with contemporary or minimalist pool designs.
- Cut Sandstone: For a clean and modern finish, cut sandstone is ideal. It can be shaped into consistent, angular pieces to create a sleek look.
- Chiselled Sandstone: Offering a rough, textured surface, chiselled stone adds character and charm, making it a great choice for traditional or farmhouse-style pools.
Choosing the Right Sandstone Pool Coping for Your Pool
Your choice of sandstone pool coping will play a key role in your pool’s overall aesthetic and functionality.
Here’s what to consider:
1. Pool Design
The design of your pool will help guide your choice of sandstone. A modern pool with clean lines may benefit from cut sandstone, while a more traditional pool might look best with chiselled or flagstone coping.
2. Colour Palette
Your sandstone should complement your pool’s tiles, the surrounding landscape, and the exterior of your home. For example, warm-toned sandstones pair beautifully with Mediterranean-style homes, while cooler tones work well with minimalist, contemporary designs.
3. Texture
Smooth, polished sandstone offers a sleek, elegant finish, while a rougher texture, such as chiselled stone, provides a more natural and earthy feel. Textured surfaces also offer additional grip, making them safer when wet.
4. Durability and Climate Considerations
Sandstone is known for its weather resistance, but if you live in an area with particularly harsh weather conditions, it’s worth opting for a more durable variety. Ensure the sandstone you choose is sealed correctly to prevent water damage or staining.
Installation and Maintenance of Sandstone Pool Coping
Proper installation and care are critical to ensuring the longevity and beauty of your sandstone pool coping.
Professional Installation
While DIY installation may seem tempting, hiring a professional ensures precision and reduces the risk of future issues. A qualified contractor will ensure that the coping is laid evenly and securely to withstand constant exposure to water and weather.
Maintenance Tips
- Regular Cleaning: A mild detergent and a soft brush are usually enough to clean sandstone. Avoid harsh chemicals that can damage the stone.
- Sealing: Apply a sealant designed for sandstone to protect it from moisture, stains, and other elements. Re-sealing every few years will help maintain its appearance.
- Repairing Chips or Cracks: Minor damage can often be fixed using epoxy or grout. However, professional assistance may be needed for larger repairs.
Final Thoughts
Choosing sandstone pool coping is an investment in the beauty, durability, and elegance of your pool. With its natural tones and textures, sandstone complements any pool design, creating a seamless, inviting space.
By carefully selecting the right sandstone and ensuring professional installation and maintenance, you can enjoy your backyard oasis for years.
Ready to transform your pool with stunning sandstone pool coping? Contact Elite Sandstone today for expert advice and high-quality sandstone solutions.
Let’s elevate your pool area to the next level!
Frequently Asked Questions
Some types of sandstone can be slippery when wet, but you can choose a textured variety or apply a non-slip coating for added safety.
With proper care and maintenance, sandstone pool coping can last for decades, making it a smart long-term investment.
Prices vary based on the type of sandstone and the complexity of the installation. It’s best to get quotes from multiple suppliers to compare options.
Yes! Sandstone is versatile enough to be used around spas and hot tubs as long as it’s correctly sealed to handle the heat and moisture.
Sandstone offers natural beauty, durability, and low maintenance, making it a superior choice over materials like concrete or tile.